9 Unexpected Ways to Use Pipe Cleaners in the Art Classroom

Despite the growing inflation rates, art budgets seem to keep shrinking. Sometimes, we may get the same budget we have had for years and get more students! While more students mean job security, making the same monetary value work for more hands is not always easy. This means getting thrifty, crafty, and stretching every supply you have until you cannot stretch your inventory anymore.
The majority of our supplies are consumables. Like food in your fridge, once something is gone, it is gone until it is replaced. For some art teachers, that may mean opening an order mid-year, having a conversation with your administrator about needing more materials, or waiting until the next school year. No matter how you slice it, getting more bang for your buck is paramount! Ordering supplies with more versatility means squeezing the most out of what you purchase.
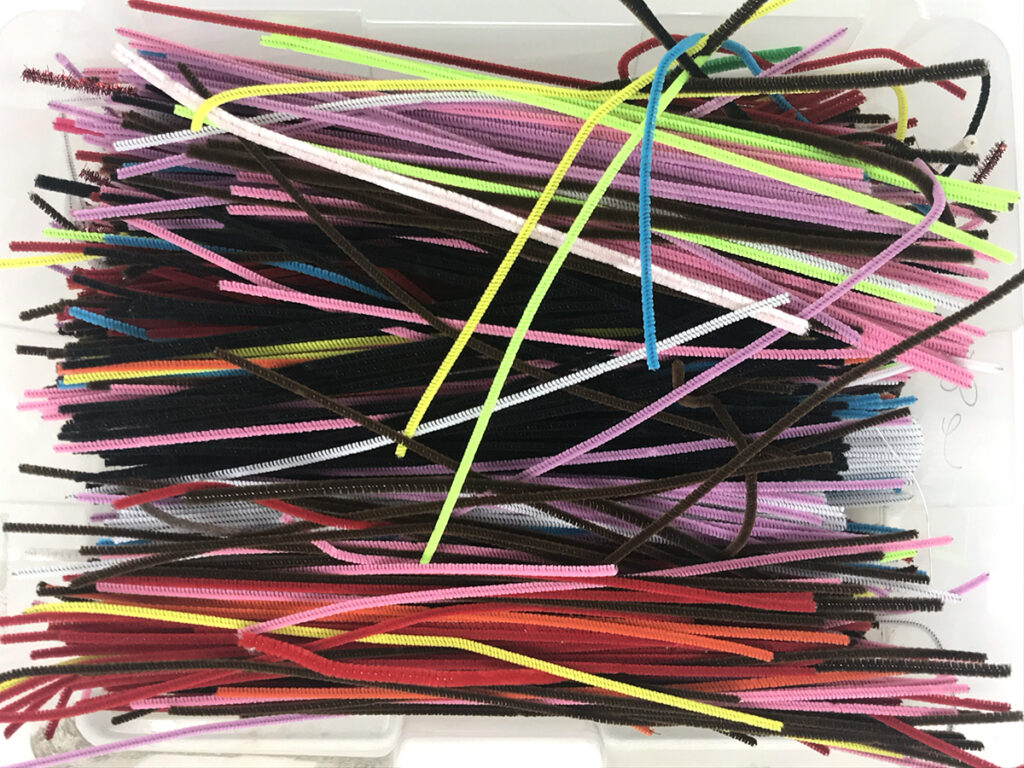
One such supply, especially at the elementary level, is the pipe cleaner! Love or hate them, pipe cleaners have their place among art rooms’ most multifaceted media. Bendy, flexible, colorful, fun, and vibrant, these fuzzy sticks can suit your needs for multiple projects. Students think this supply is exciting and interesting to use. They are a perfect sensory item for both younger children and students with special needs who need more practice with their fine motor skills.
Without further ado, here are nine unexpected ways to use pipe cleaners in the art classroom.
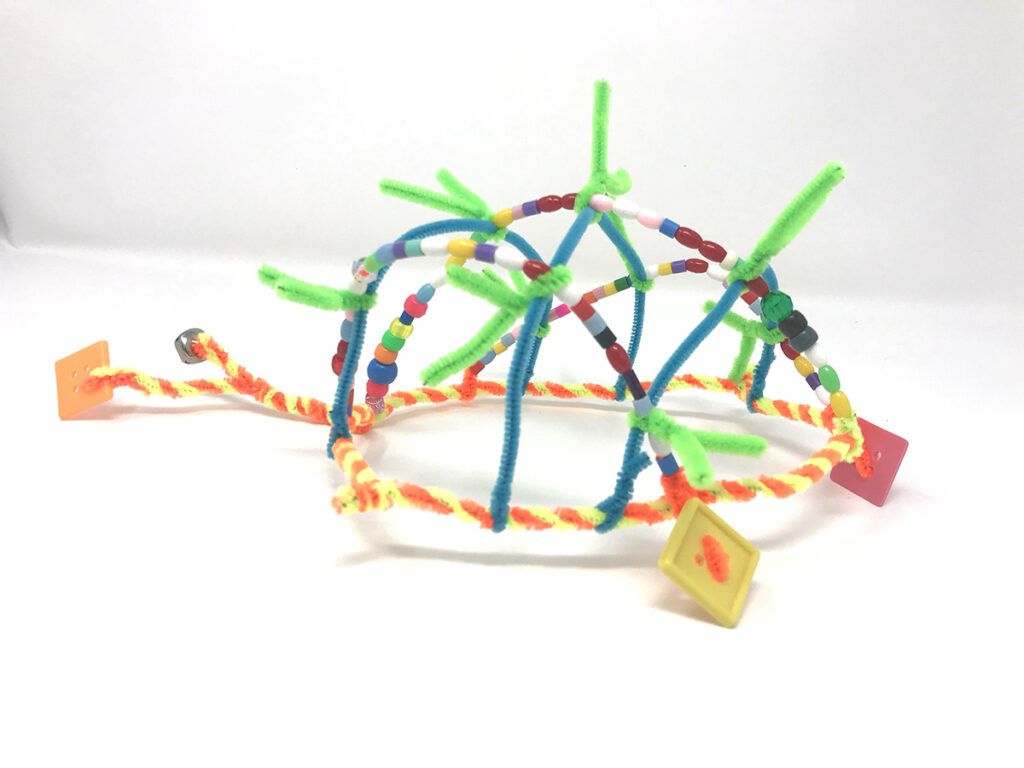
1. Hats or Crowns
This material’s bendy and flexible nature are perfect for hats or crowns. Little artists can start by twisting together a ring to fit around their head, then twist or add on pieces as they see fit. Give the students some beads to string on for more fun and fine motor skill practice. This may even give you a chance to discuss the purpose of hats or crowns in various contexts and cultures. A great place to start is with Yoruba beaded crowns.
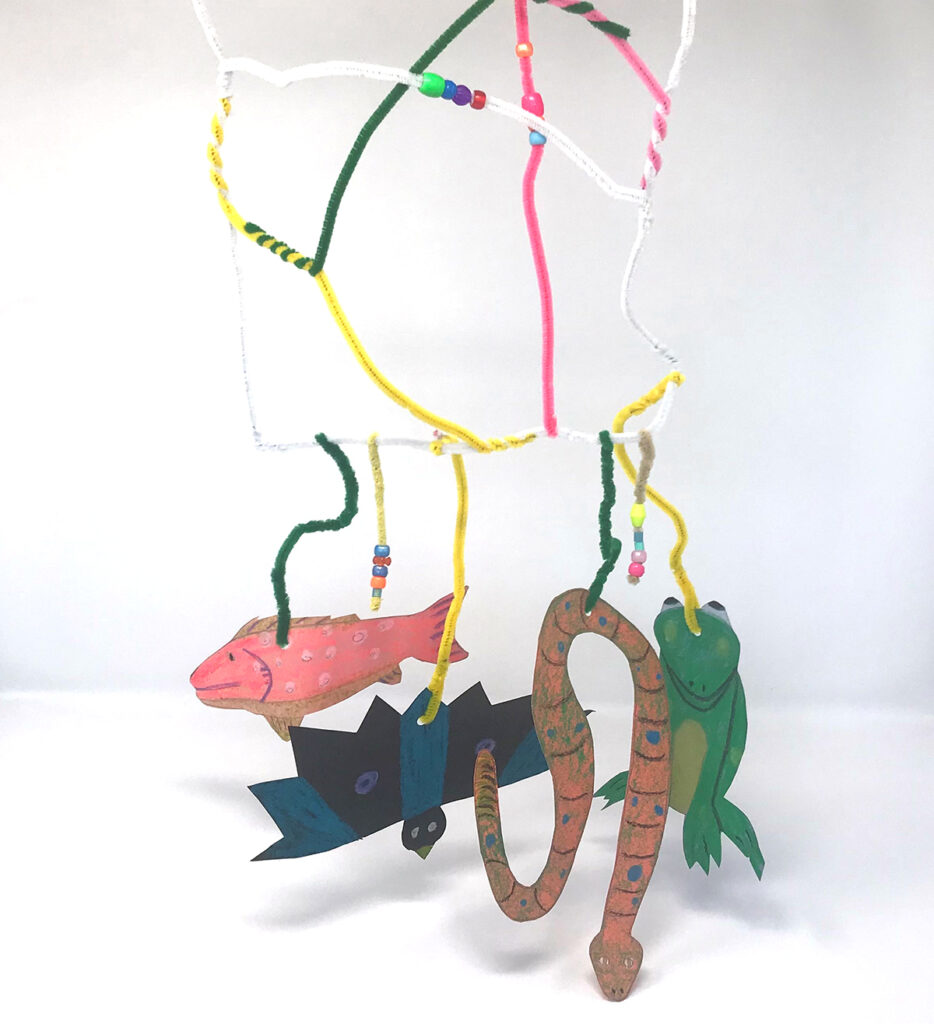
2. Mobiles
As mentioned in a previous article about innovative sculpture ideas, pipe cleaners make great mobiles. Students can twist and shape their mobiles into various fun forms. Then, they can draw, color, and cut out shapes, animals, or objects to attach to their pipe cleaner mobile base, similar to charms on a bracelet. Alexander Calder is a staple artist to discuss.
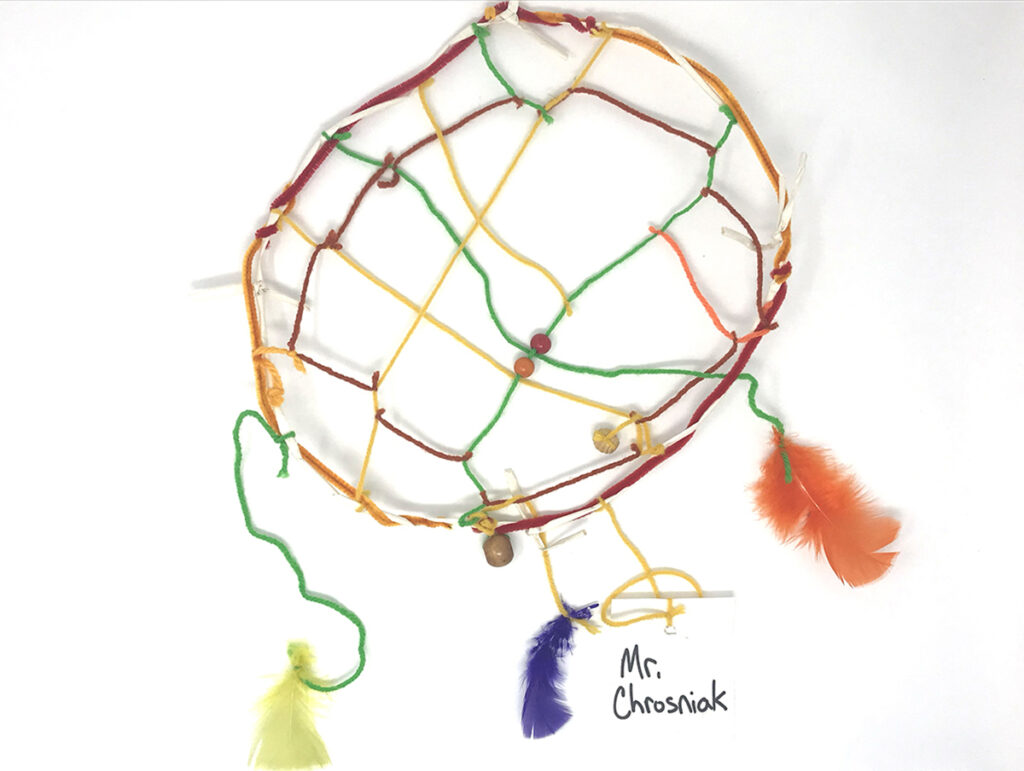
3. Dreamcatchers
Dreamcatchers have rich Native American roots. Originally made by the Ojibwe, dreamcatchers were used to catch both good and bad dreams. The good dreams pass through the web, while the bad ones get stuck and burn away when the sun comes up.
Have your artists make a circle shape by twisting multiple pipe cleaners together. They can tie string or more pipe cleaners in the middle to make the web for their catcher. Adorn them with beads and feathers to make colorful catchers students can hang and enjoy.
4. Name Designs
Students love taking their name or someone else’s and making something creative with it. Instead of drawing their name in imaginative lettering or perspective, have them shape it out of pipe cleaners. This is a great demonstration of contour lines and makes connections between the two- and three-dimensional worlds.
5. Flowers and Butterflies
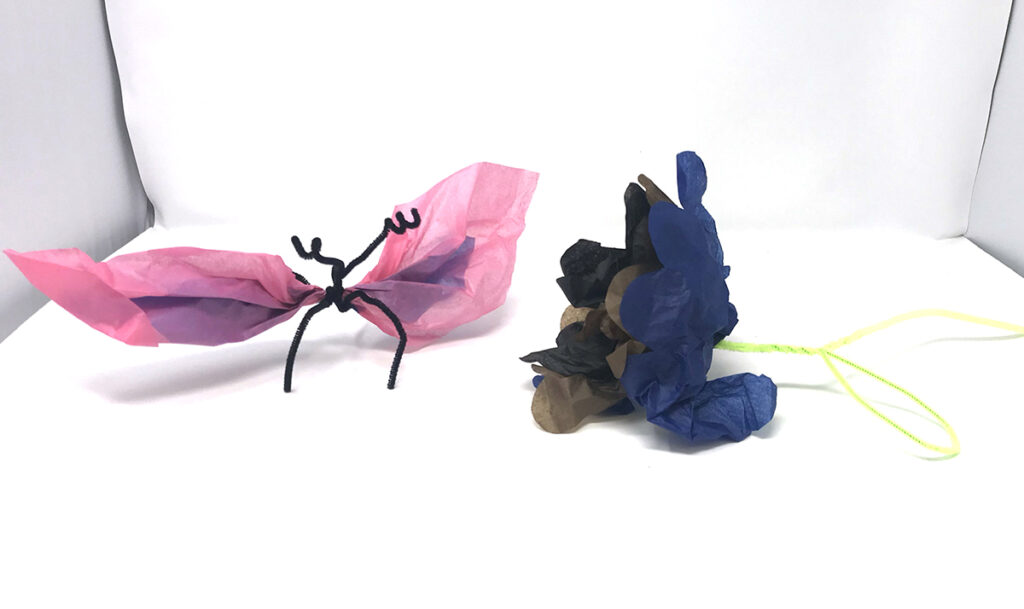
For the butterflies, layer together tissue paper, accordion fold it, and wrap a pipe cleaner around the middle. Make sure to leave enough wire for the antennae. Fluff out the tissue paper for the wings, and feel free to add legs with more pipe cleaners.
For the flowers, layer pieces of tissue paper together, accordion fold them, and round the edges with scissors. Pinch the center and fluff out the tissue paper. Wrap a pipe cleaner around the tissue paper flower to make a stem. Add and bend more pipe cleaners on the stem to make leaves.
6. Bubble Wands
Pipe cleaners make a pretty sweet bubble wand. And let’s face it—what child (or adult) does not love bubbles? Give your little creators some pipe cleaners and have them bend one or more into their desired shape, such as a circle, square, or heart. Next, have them use another pipe cleaner to twist a handle on. Encourage students to be creative with their handles! It can be wiggly, spiraled, twisted with multiple colors, or more. Dip the wands into a homemade or store-bought bubble solution and blow magical, translucent bubbles. Use bubble wands to introduce the difference between two-dimensional shapes and three-dimensional forms.
7. Strap or String Substitution
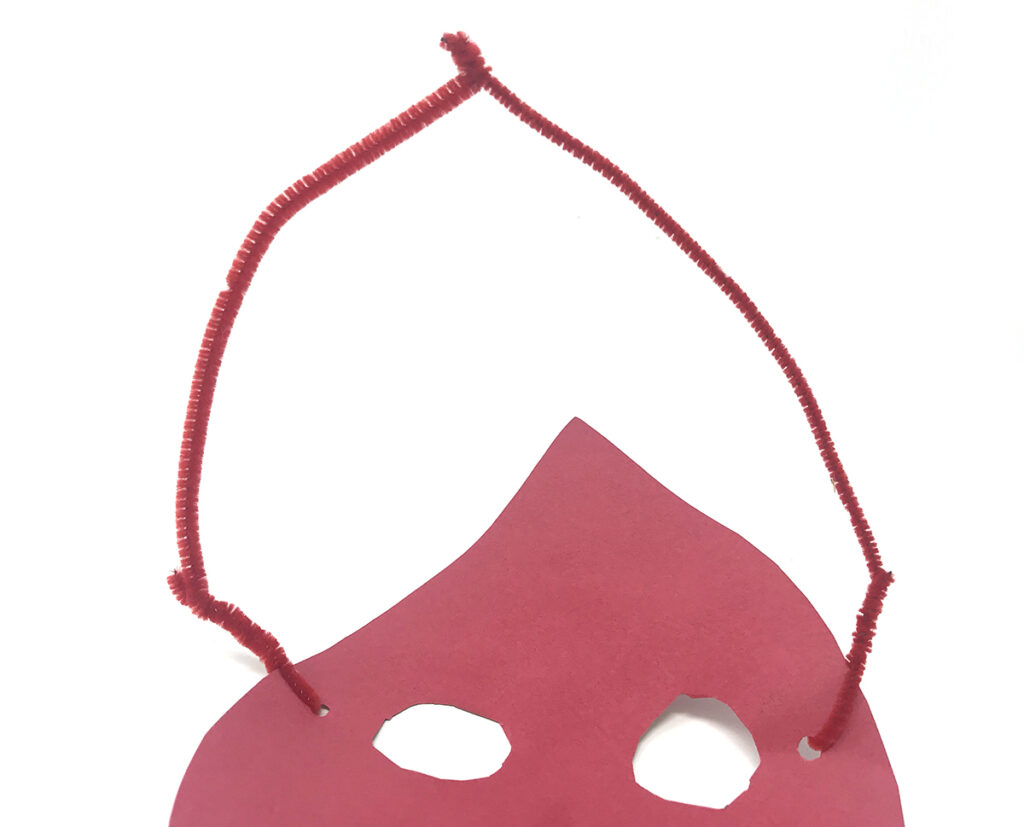
This hack is fantastic for whenever you need a strap, such as on a mask or bracelet-making project. It also suffices as a stand-in for string, particularly if you have young learners who have trouble tying but are better at twisting.
8. Sculptures
If you love the idea of wire sculptures but do not want to buy bulk wire or pliers and wire cutters, pipe cleaners are a great “alternative.” Even though a pipe cleaner is still wire, it bends easily without tools and can be cut with scissors. Use pipe cleaners in lieu of wire in your next sculpture project!
9. Cleaning
Pipe cleaners were originally invented to clean smoking pipes. Although we don’t use them in this context much anymore, especially not in the art room, we can still use them to scrub small tubes, straws, or tight spaces.
Versatile art supplies are the key to managing any art budget and making the most of what you have. Students get excited about using pipe cleaners in a project because the colors are fun and the artmaking experience becomes more tactile. They can practice their fine motor skills by crafting with pipe cleaners. Add art history connections to elevate the material and really engage learners. The next time you are ordering supplies, do not overlook pipe cleaners. In fact, if you have a pack in your cart, add a second one! These furry, bendable creation sticks will always have a place in the art classroom.
Do you have a lesson using pipe cleaners? If so, share below!
What other pipe cleaner hacks do you love?


